How to Install the SIP Filter on the Edge Server?
Do not install SIP Filter manually, the installer takes also files from AccessPortal folder to SIP filter folder
In this article, we are going to learn how to install the SIP Filter using the SphereShield installer.
Before proceeding make sure to follow this KB in order to generate the user properties file.
Installation
1. Right-click the installer and run it as an administrator.
2. When prompted with this window click 'SphereShield for Skype for Business'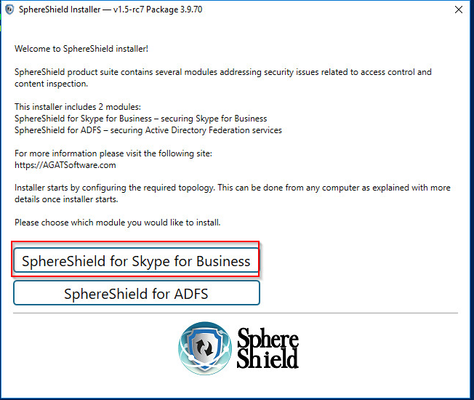
3. If no properties file was detected you will be asked to choose (if you have).
Click yes, to specify a file and no to proceed without specifying. The default location of the file should be at:
C:\Agat\SphereShield.Setup
4. On the SIP Filter page in the installer make sure 'Install on Edge' is checked.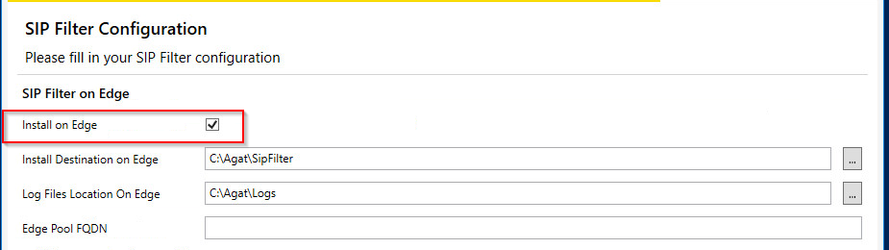
The value for 'Edge Pool FQDN' should be taken directly from the Topology Builder that's on your Front End server.
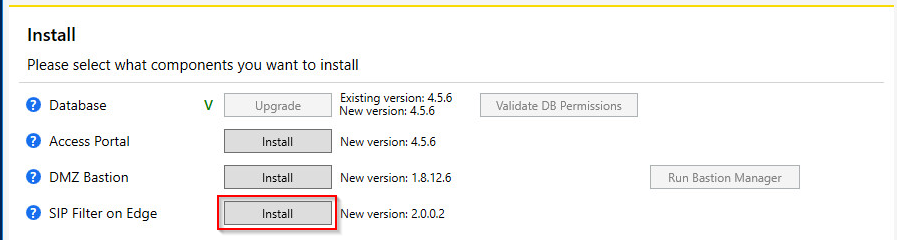
5. On the Install page, click the button next to 'SIP Filter on Edge'
6. After a successful installation, you should see the following pop up message: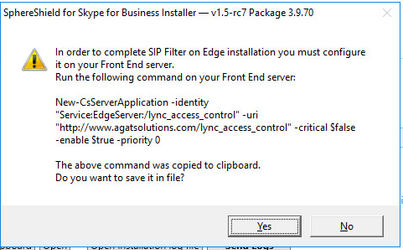
7. We will need to create a new application entry for the SIP Filter. In order to do that you will next to either execute the command
New-CsServerApplication -identity "Service:EdgeServer:<Edge Pool>/lync_access_control" -uri "http://www.agatsolutions.com/lync_access_control" -critical $false -enable $true -priority 0
or save the command as a Powershell script and execute it on the front end server
8. The last step is to make sure that the SIP Filter has been created and start it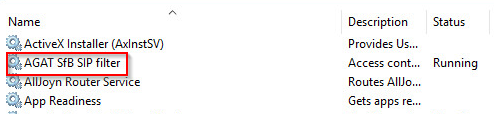
Manual Installation
How to manually install the SIP Filter on the Edge server?
Must the SphereShield Services run with Local Service and Local System?