Manually creating the Azure AD Application Registration required for API connection
- Agat Support
- David Elkarat
- Avi J. Levin (Unlicensed)
Introduction
Part of the SphereShield for Teams requires access to office tenant using Graph API. This is used mainly by the Adapter service.
As part of the installation process of the SphereShield Admin Portal, you need to supply connection values for accessing the office 365 tenant.
This is done by registering an application in Azure Active Directory
After registering the app, you will enter the values in the first screen shown when you launch the SphereShield admin portal.
When the server is located on premises in the customer's network, it will also be necessary to create Public DNS records so that Microsoft Graph API can connect to the server where the CASB Service is installed.
Creating the Web/API app
- Sign in to the Azure portal.
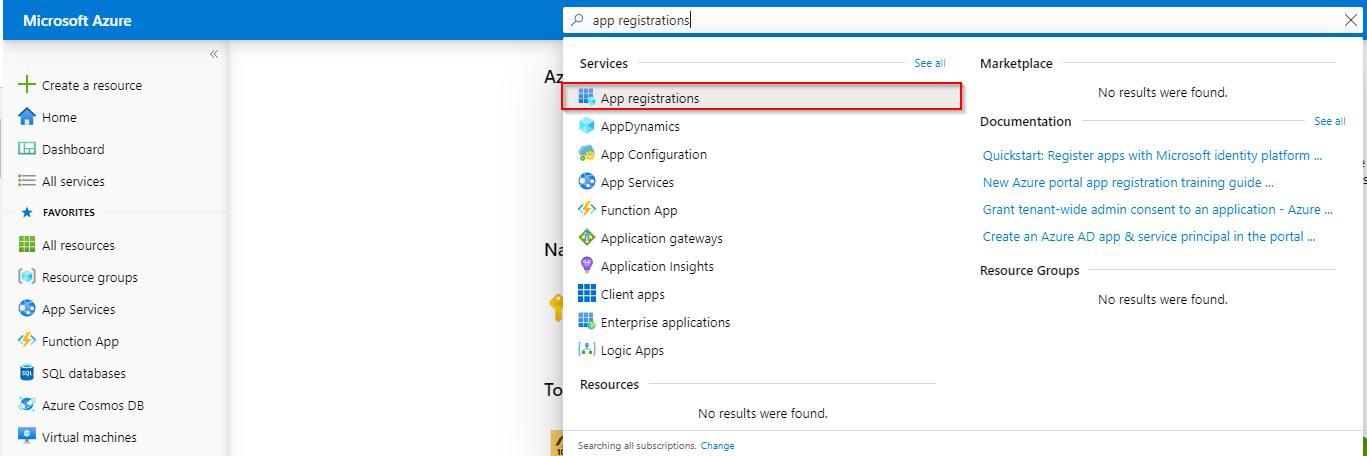
- At the top, you'll see a search box. Find App Registrations and click it
- Click on New Registration

- When the Create page appears, enter your application's registration information:
- Name: Enter a meaningful application name
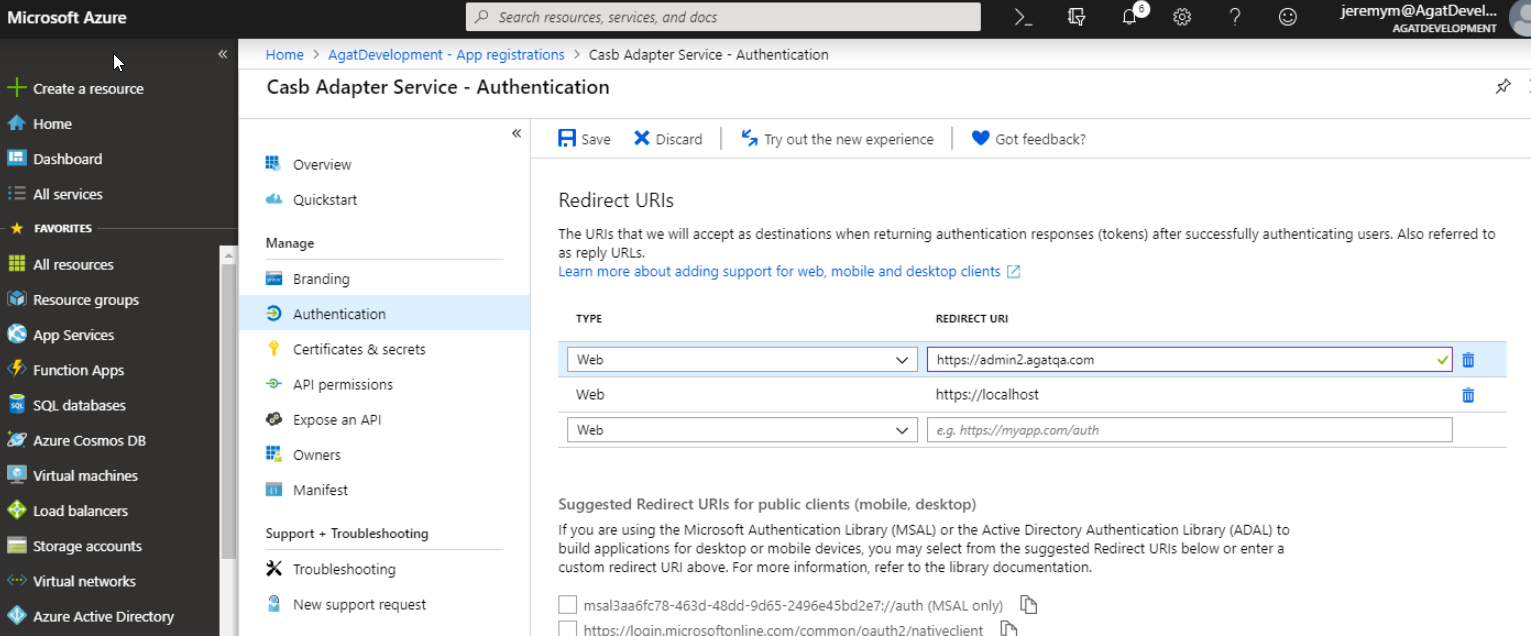
- Redirect URI: Web: "https://localhost"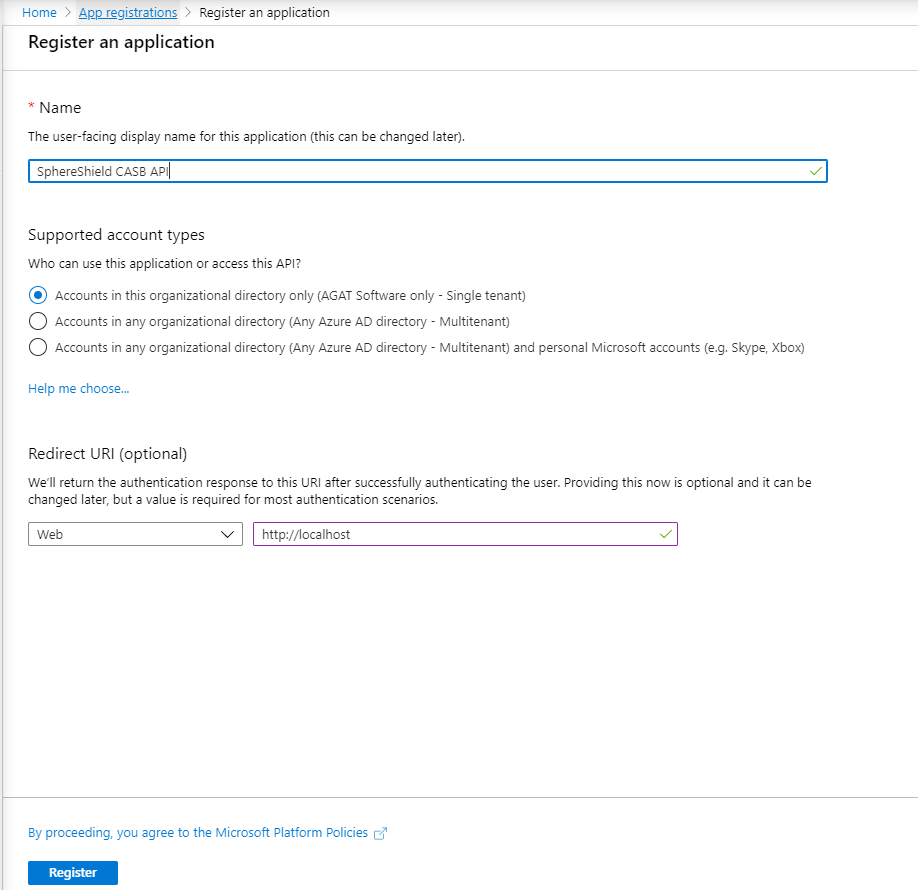
- When finished, click Register.
Creating a secret key:
- Click on the application you've created.
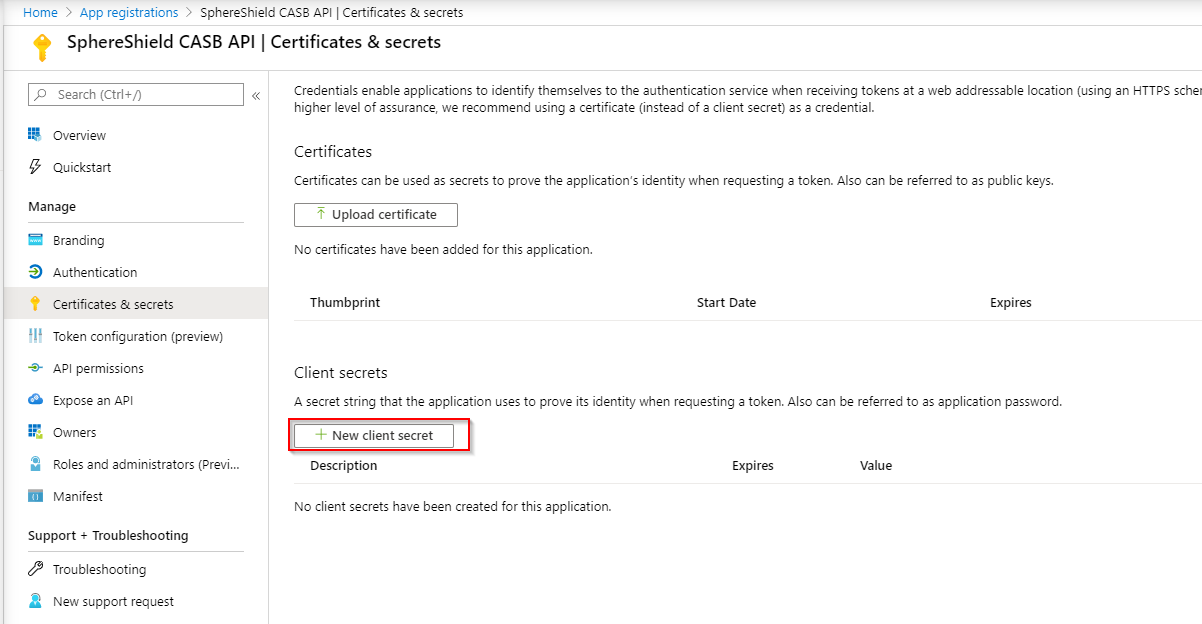
- Click on Certificates & secrets in the side menu
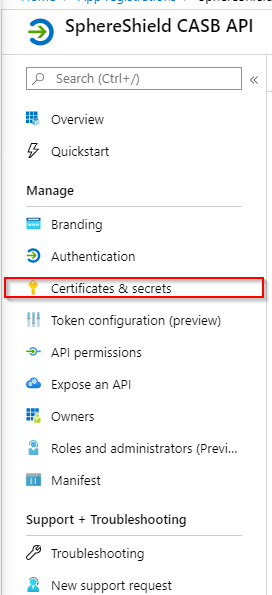
- Click on New client secret
- Set a description and Expiration date. Click on Add
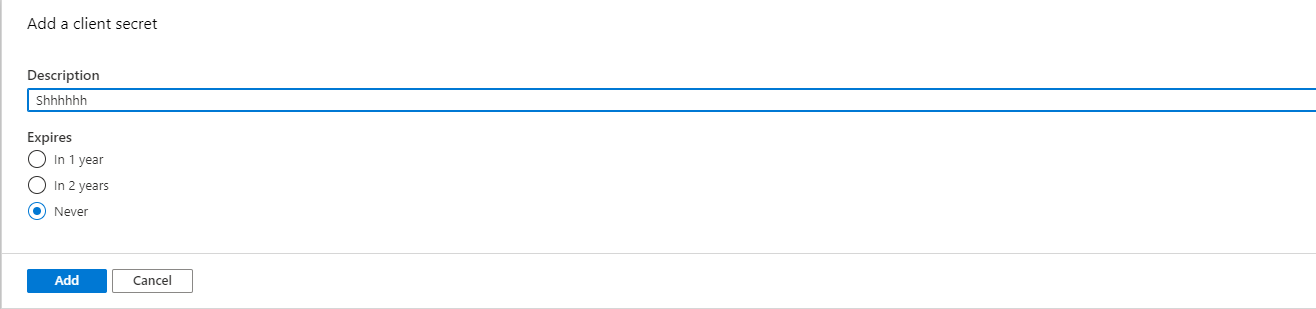
- Make sure to keep the value somewhere safe. It will not be accessible afterward:

Adding the
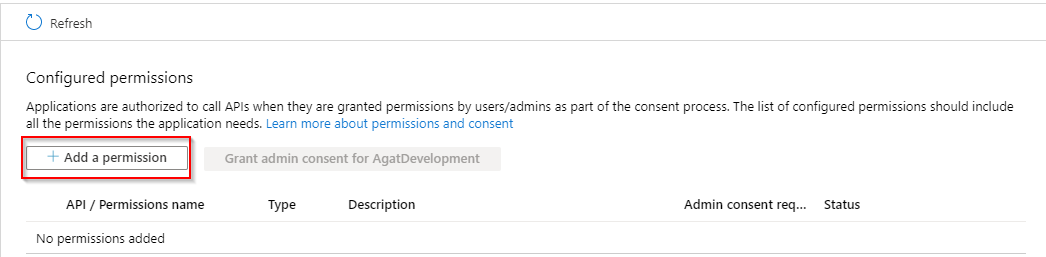
1. Click the API permissions in the side menuAPI Permissions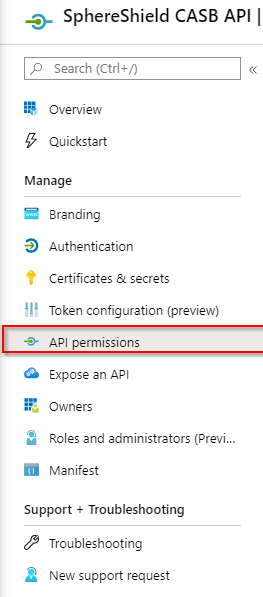
2. Click the Add a permission button.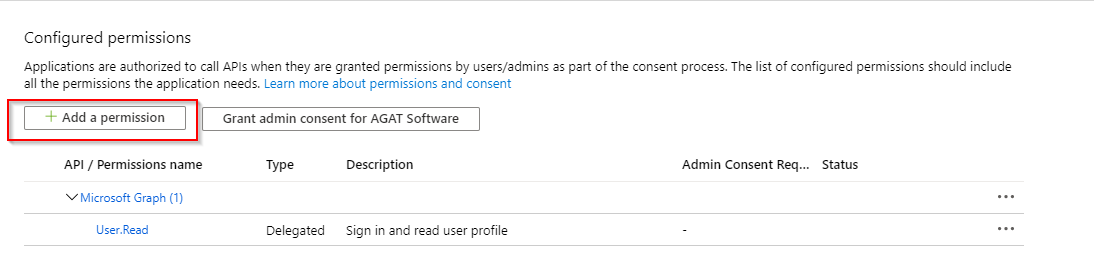
3. Select Microsoft Graph and then Application Permissions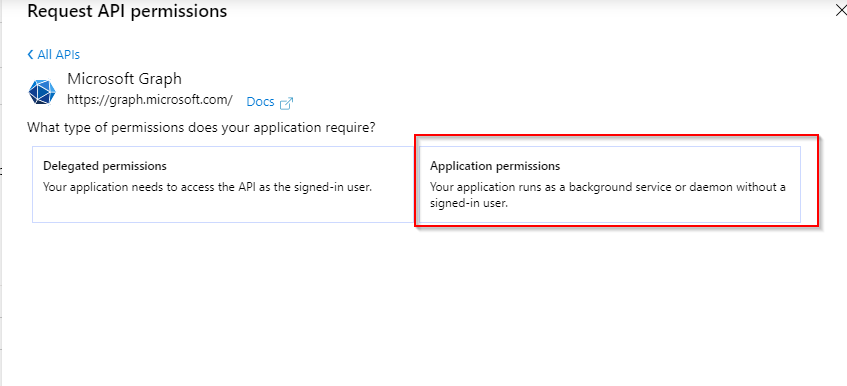
Depending on deployment type, you will need to set relevant permissions as listed below:
Deployment A: Proxy only deployment (app is needed only to control authentication to the portal):

Deployment B: In case of API or proxy and API deployment use the following:
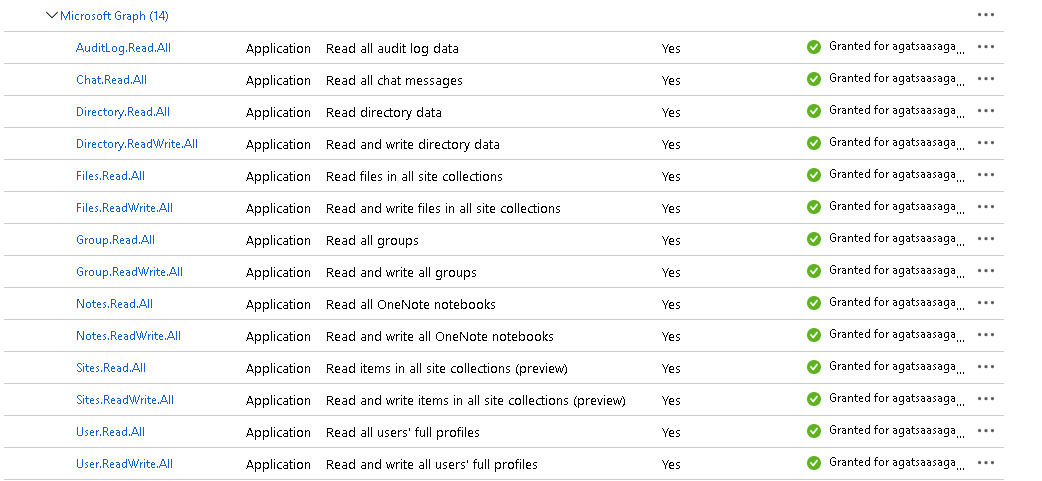
Don't forget to grant admin consent
Creating the Native Client app
Note: This part is needed for Channel Management, eDiscovery and IM notification for compliance deployments (Ethical wall and DLP).
- Sign in to the Azure portal.
- At the top, you'll see a search box. Find App Registrations and click it
- Click on New Registration
- When the Create page appears, enter your application's registration information:
- Name: Enter a meaningful application name
- Redirect URI: Public client/native: "https://localhost"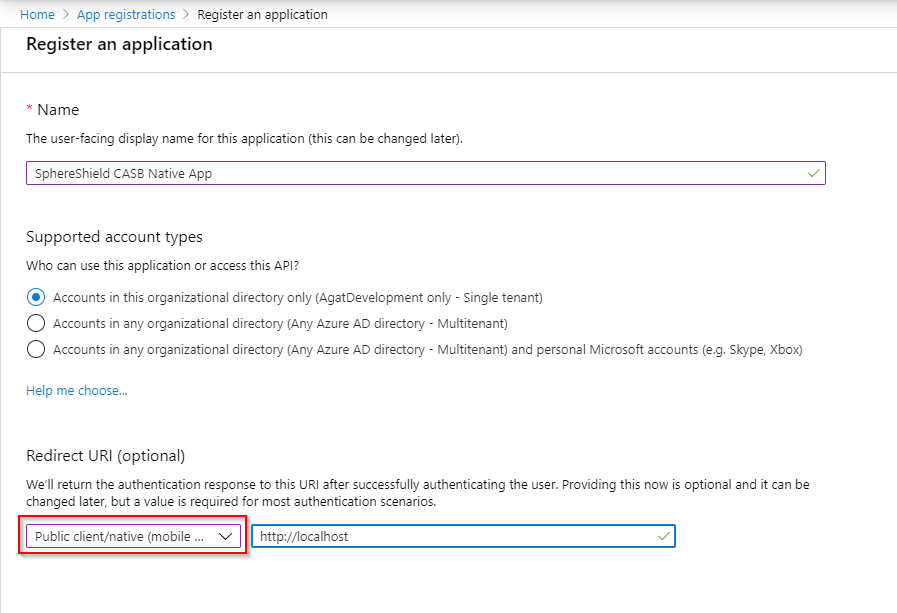
- When finished, click Register.
Adding the Delegated Permissions
- Click on API permission in the side menu
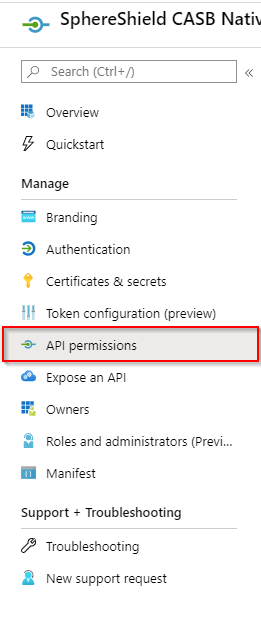
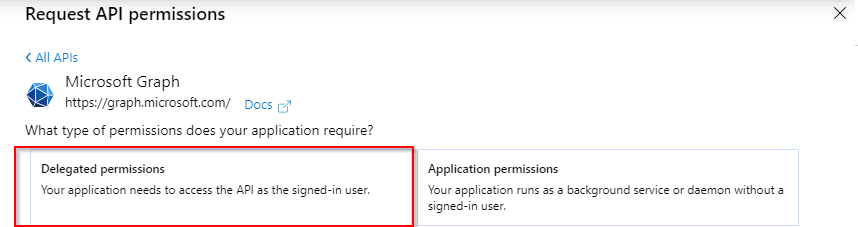
- Click the Add a permission button
- Select Microsoft Graph and then Delegated Permissions
- Make sure you have added all of these permissions:

- Don't forget to grant admin consent

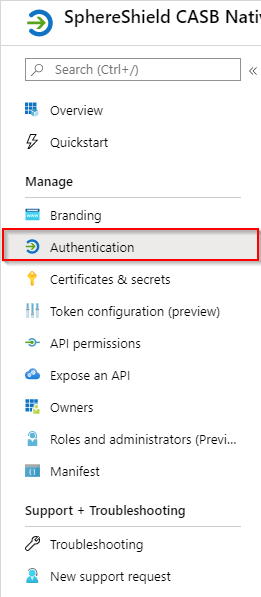
Setting the Default Client Type
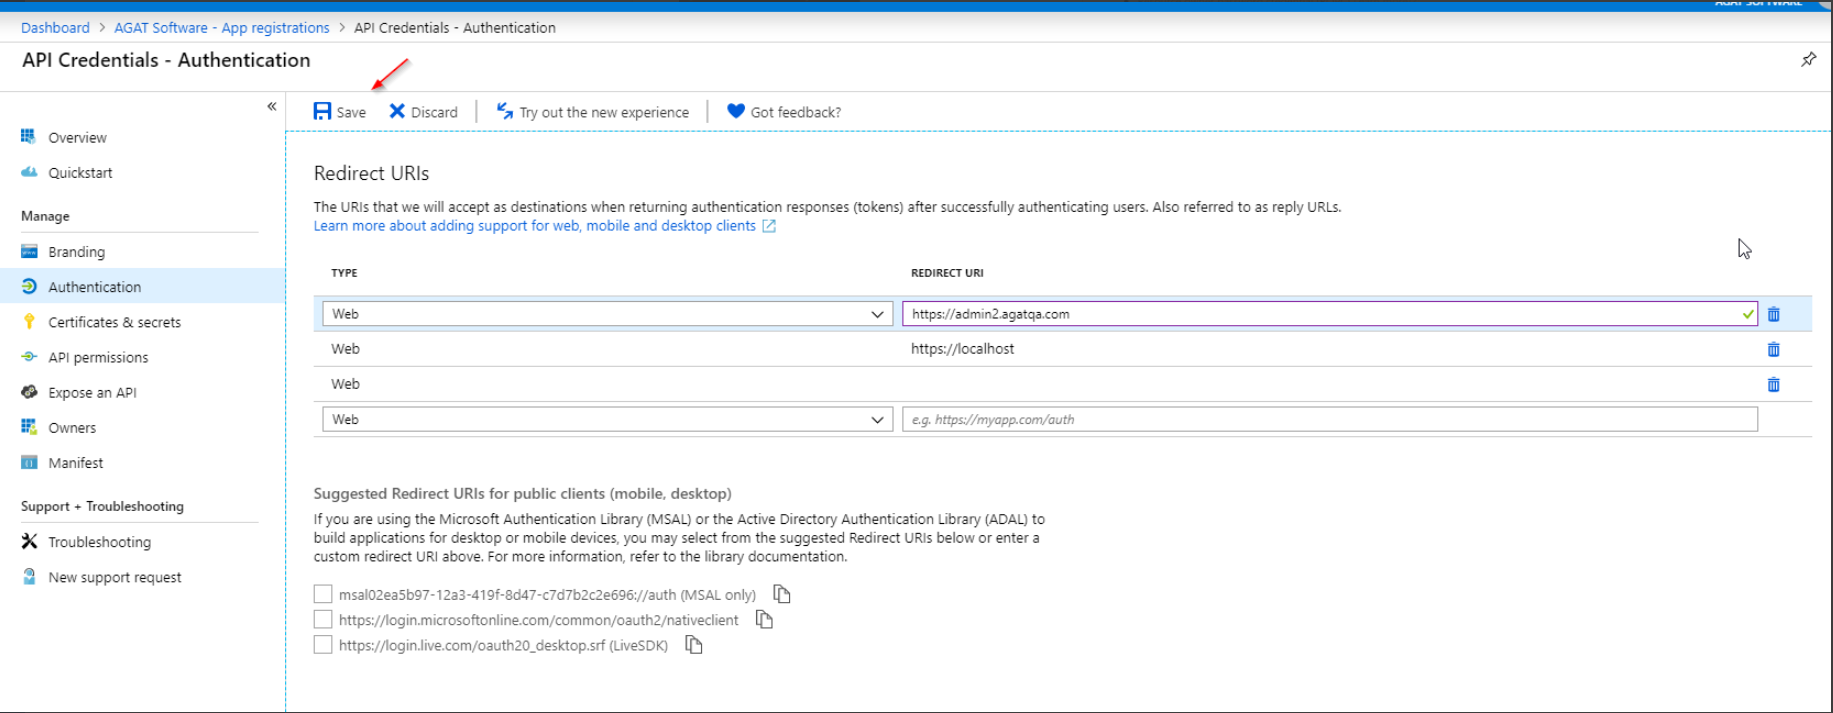
- Click on Authentication in the side menu
- Scroll down to the Advanced Settings section. Set Treat application as a public client to Yes
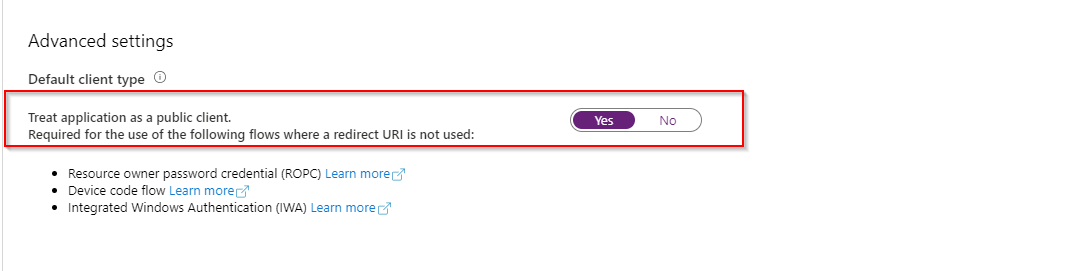
- Don't forget to click Save
SphereShield Admin Portal sign-in process
After the SphereShield Admin Portal is set up, you'll need to follow these steps.
And click on save
If you need the app to be multitenant
Click on "Manifest" and change the value of "signInAudience" to "AzureADMultipleOrgs"

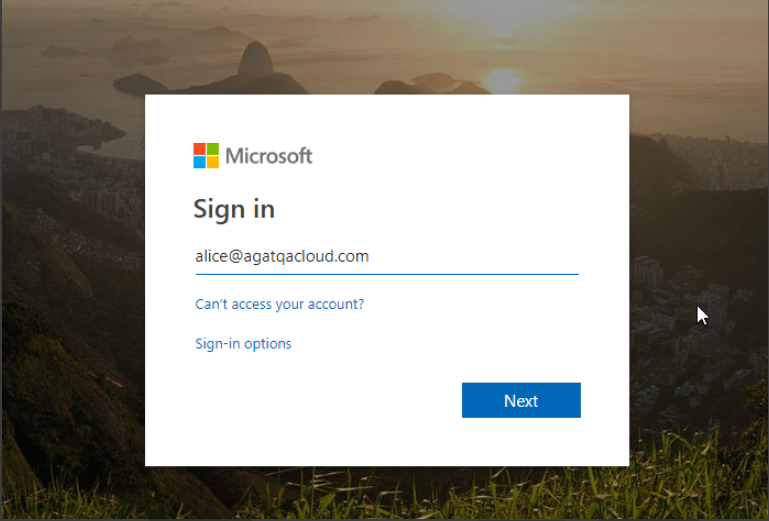
On first access to Admin Portal after fresh installation - user will be presented the following screen to set initial configuration:
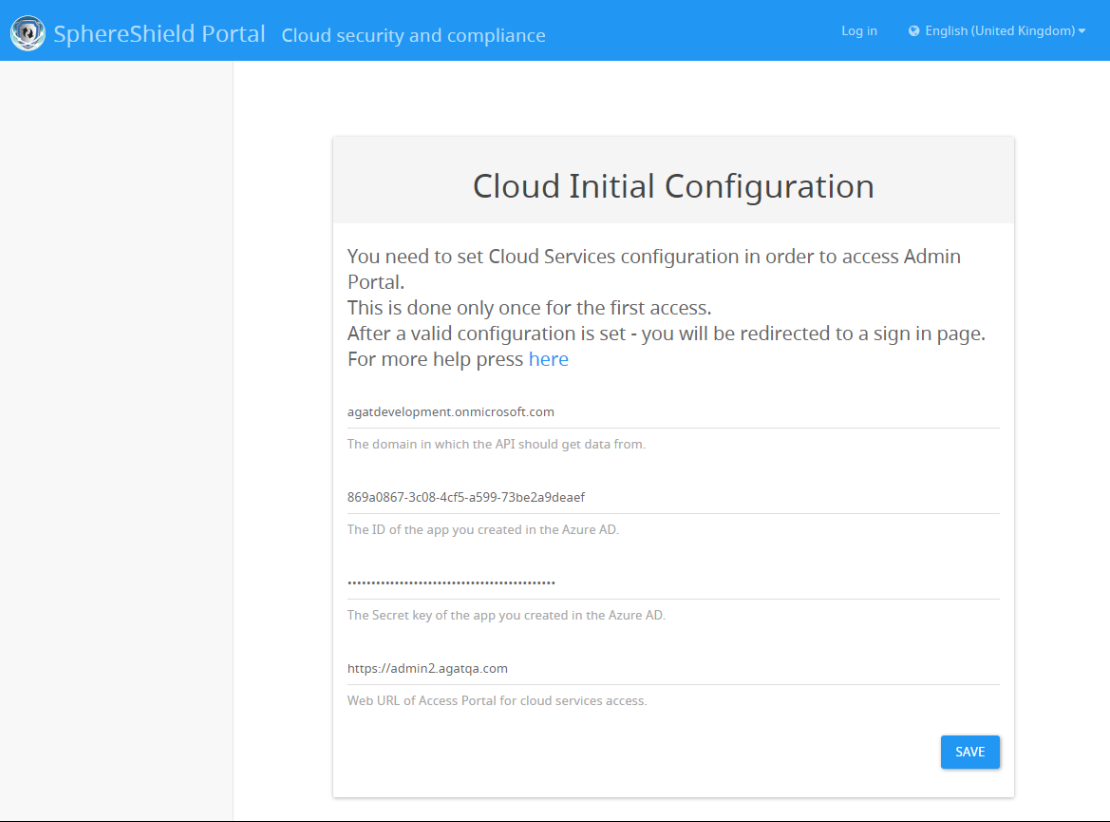
In this page, enter the following details:
Azure AD Tenant: the domain in which the API should get data from.( I.E: agatsoftware.com)
Application ID: the ID of the Web app / API application created in the Azure Portal
Application Secret: the key we created above
External URL: This value will be provided to you by AGAT
Note: External URL must be the same as saved in Redirect URLs in Azure Portal.
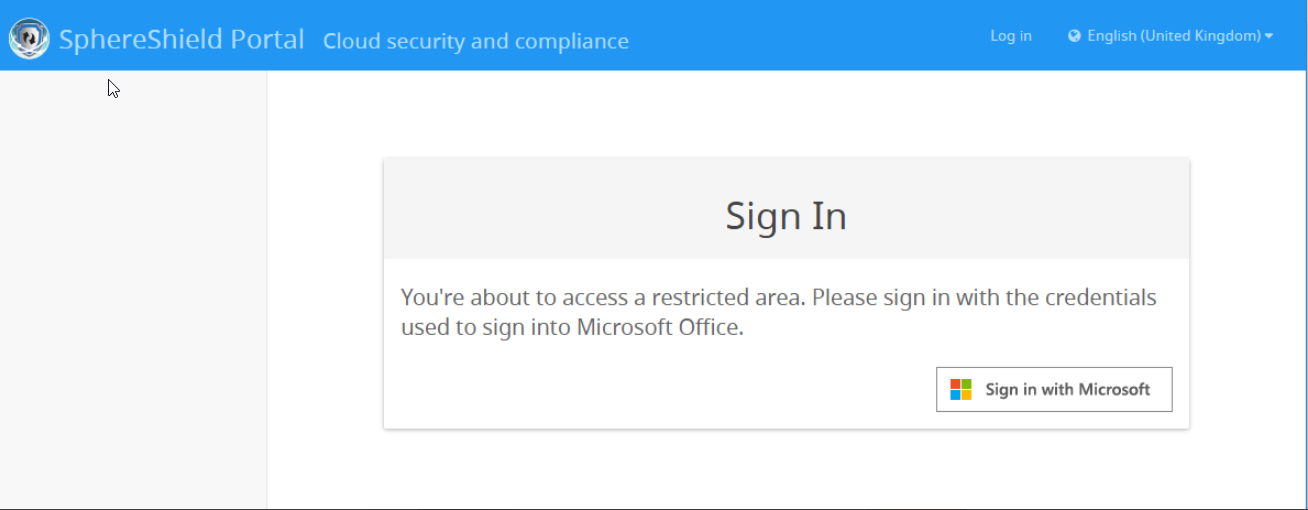
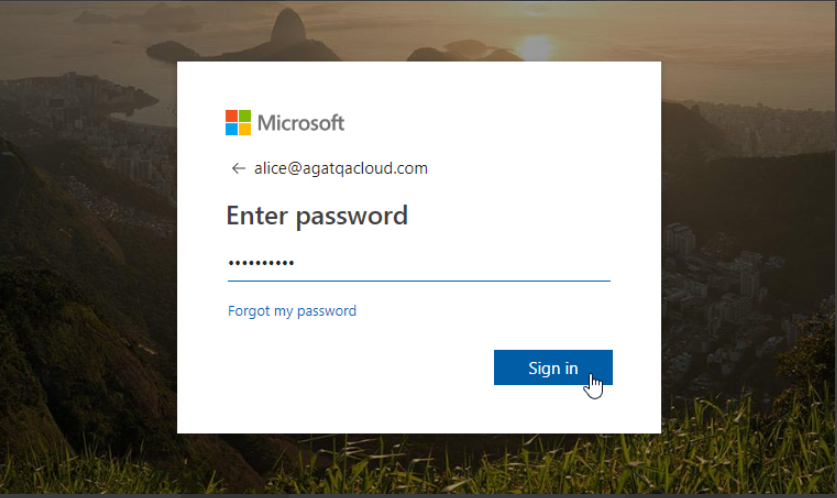
After filling in the above fields and pressing Save, the next screen is the Admin Portal sign in. For subsequent Admin Portal accesses, the sign in will start here:
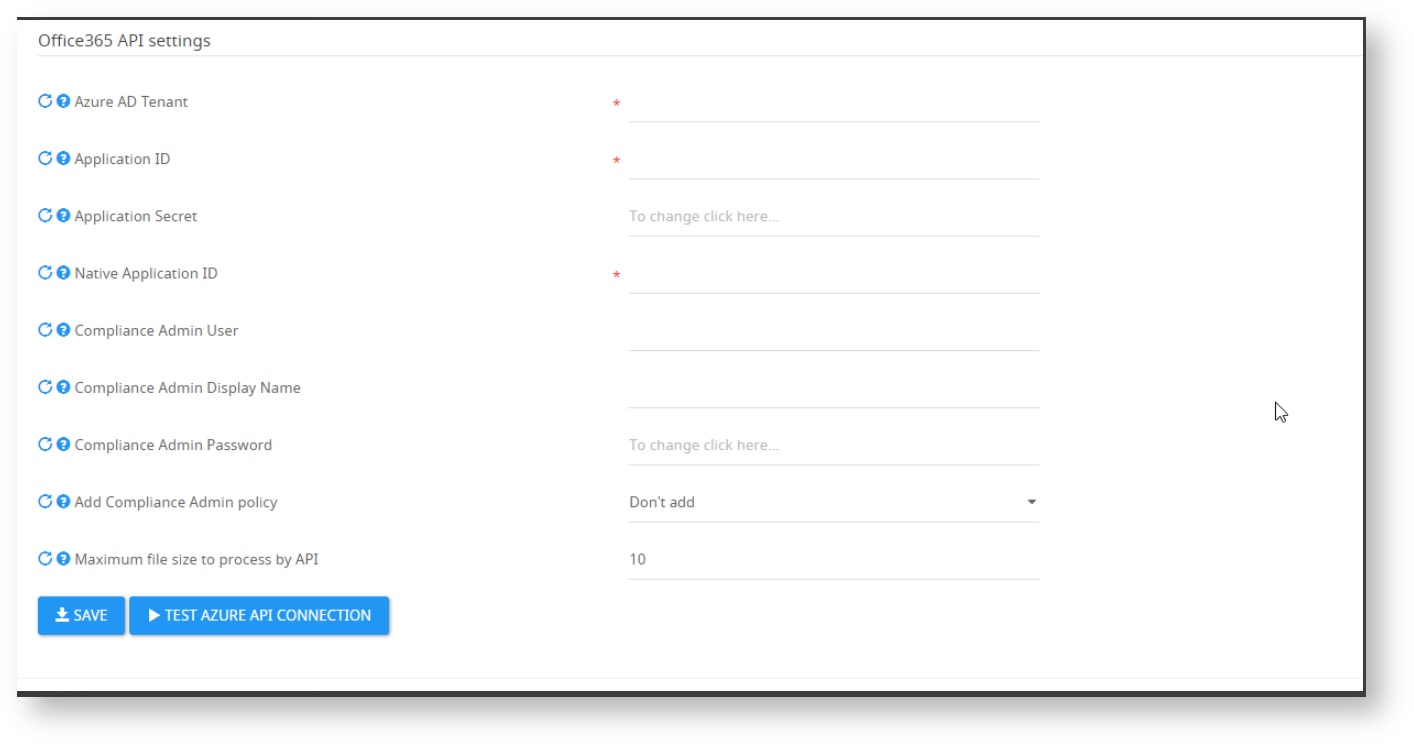
Configuring Admin Portal Integration Azure AD:
To allow the CASB Adapter service authentication to Graph API, you need to add credentials to the Access Portal under Settings -> Cloud service integration
Azure AD Tenant: the domain in which the API should get data from.
Application ID: the ID of the Web app / API application created in the Azure Portal
Application Secret: the key we created above
Native Application ID: the ID of the Native application created in the Azure Portal
Compliance Admin User: A user with access to Teams that will be added as an owner to each channel and Team.
Make sure that the user has at least a license for Teams and is not a member of any channel/team before configuring.
Enter your details in the fields below and click on "Save"
You can click on the " Test azure API connection " to see if your connection is valid
Compliance Admin Password: the password of the Compliance Admin user. If the user has MFA, you should configure an App Password.